 BuzzKit
Most videos are longer than the part you actually need. A screen recording has a slow start, a phone clip has dead time before the moment that matters, or you only want to share one highlight from a long recording. Knowing how to trim a video saves you from sending, uploading and storing footage nobody will watch.
This guide shows how to trim a video for free with the BuzzKit Video Trimmer, what happens to quality when you cut, and what to do when you need more than one section.
How to trim a video in your browser
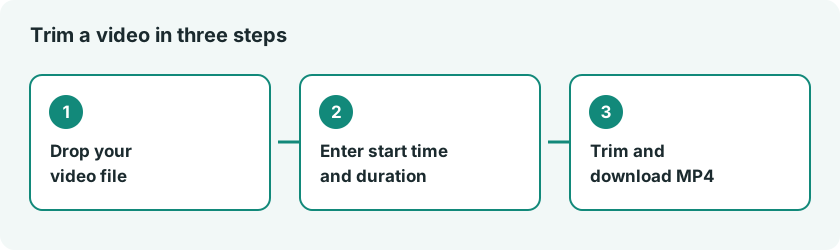
- Open the Video Trimmer and drop in your video file.
- Preview the clip to find the moment you want to start from.
- Enter the start time and the duration in seconds. The tool follows your values down to a tenth of a second.
- Click trim and download the finished MP4.
Will trimming a video reduce its quality?
Usually not. The trimmer asks ffmpeg to seek to your start point and copy exactly that length. When the format allows it, ffmpeg copies the existing video and audio streams instead of decoding and re-encoding them. That is fast and keeps the original quality, because nothing is recompressed.
There is one technical wrinkle. Video is stored as a sequence of frames, and most frames only record the change since a recent full frame called a keyframe. A lossless cut can only start cleanly at a keyframe, so if your start time falls between keyframes, hitting that exact point can require re-encoding a short portion. In practice this is rarely noticeable, but it means frame-perfect trims are not always bit-for-bit identical to the source.
How to keep more than one section
The trimmer cuts one continuous section per run. To keep several separate parts of the same recording, run it once for each part, then join the results with the Video Merger in the order you want them to play. The same approach works for building a short highlight reel from a long source.
Tips for cleaner cuts
- Preview first. Find the exact timestamp before you enter it, so you do not have to guess.
- Leave a small margin. If you are unsure, start a second early and finish a second late, then trim again if needed.
- Trim before anything else. A shorter clip is faster to compress, rotate or convert, so later steps have less to process.
- Keep the original. Save the trimmed clip under a new name so you can always go back.
- Expect long files to take longer. Processing happens in your browser tab, so a very long source uses more memory than a short one.
Related guides
If the trimmed clip is still too large to send, read our guide on how to compress a video without losing quality. To turn a short clip into a looping animation, see how to make a GIF from a video.
Curious how seeking and keyframes work? The FFmpeg seeking guide explains why cut points behave the way they do.
Frequently asked questions
Does trimming upload my video?
No. ffmpeg runs inside your browser tab through WebAssembly, so the file stays on your device.
What format is the trimmed file?
Always MP4, whatever format the source was in.
Can I trim several sections at once?
Not in one pass. Run the tool again with a new start time for each section, then merge the results.
Trimming should take a minute, not an hour. Open the Video Trimmer, set your start and duration, and keep only the part worth watching.