 BuzzKit
A website that loads slowly, an upload form that says the file is too large, an email that will not send because of one oversized photo. In each case the culprit is usually the same: an image that is much bigger than it needs to be. Phone cameras now produce pictures of many megabytes, which is far more than a screen or a form actually requires.
This guide explains how to reduce image size without making your pictures look worse. You can try each step with the free BuzzKit Image Compressor.
Why image size matters
- Page speed: images are often the heaviest part of a web page, and slow pages frustrate visitors and can hurt search rankings.
- Upload limits: job portals, forms and marketplaces often cap files at a few megabytes.
- Storage and data: smaller pictures save space and mobile data.
- Email: large attachments can be rejected or take ages to send.
Two different things: dimensions and compression
People often mix up two ways to shrink an image, and they work differently.
Dimensions are the width and height in pixels. A 4000 by 3000 pixel photo has twelve million pixels, but a blog post or social card might only show it at a fraction of that size. Scaling the picture down removes pixels you never see.
Compression reduces the data used to store those pixels. Lossy compression discards detail that is hard to notice, while lossless compression repacks the data without losing anything, usually with smaller savings.
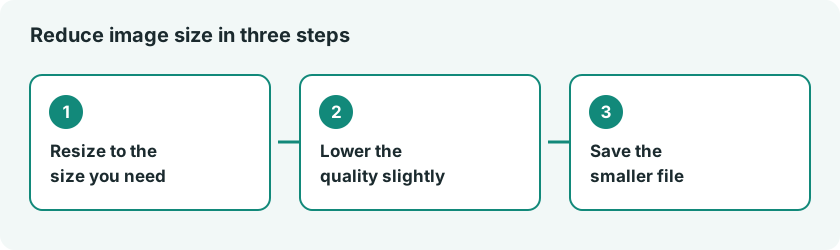
For the best result, do both: resize first, then compress.
How to reduce image size in four steps
- Decide where the image will be used and how large it needs to appear.
- Scale it to that size with the Image Resizer, or trim unneeded edges with the Image Cropper.
- Run it through the Image Compressor and choose a sensible quality level.
- Compare the result with the original at normal viewing size, then save it.
If you are unsure where to start, try a medium quality setting. Most people cannot tell the difference at normal size, and the file is often far smaller. Keep in mind that the Image Compressor accepts JPG and PNG files but always saves the result as a JPEG, so a PNG with a transparent background will lose its transparency. The quality setting (75% by default) applies to every image in a batch.
Pick the right format
The format changes how small a file can get.
- JPG suits photographs and gives small files.
- PNG keeps sharp edges and transparency but is heavy for photos.
- WebP often beats both for websites. Our comparison of WebP, JPG and PNG explains when to use each.
If you need to switch, the Image Converter handles it. A big photo saved as PNG is a very common reason for an oversized file, and converting it to JPG or WebP can cut the size dramatically.
Common mistakes
Compressing the same file again and again
Each lossy pass throws away more detail. Always go back to the original, and keep a copy before you start.
Using a huge photo for a small space
Uploading a 6000 pixel wide picture to show in a 600 pixel column wastes bandwidth. Resize it to the size you actually need.
Ignoring screens with high pixel density
Sharp displays benefit from images that are roughly twice the displayed width. Do not go far beyond that, though, or the extra pixels add weight without adding visible quality.
Saving text graphics as heavily compressed JPGs
Screenshots and graphics with text look fuzzy under strong lossy compression. Use PNG for those, or a gentler setting.
Extra tips for websites
Name your files clearly, for example blue-running-shoes.jpg instead of IMG_4821.jpg, and always add descriptive alt text when you place them in a post. If you build a site icon, the Favicon Generator produces the required sizes. When a picture has a messy background, you can clean it up with the Image Background Remover before you resize.
Be careful with private pictures
Photos of documents, people and homes can reveal more than you expect. Before you upload anything sensitive to an online tool, check what the site does with it. Our guide to the risks of free file converters covers the warning signs.
For more on how image formats trade quality against size, see the MDN guide to image file types.
Frequently asked questions
How can I reduce image size without losing quality?
Resize the image to the dimensions you actually need, then apply a moderate level of compression. Check the result at normal viewing size before you save it.
What is a good file size for a website image?
There is no single number, but smaller is better. Many sites aim for well under a few hundred kilobytes per image, depending on its size and purpose.
Does reducing image size affect print quality?
Yes, because prints need more pixels than screens. Keep a full-size original for printing and make smaller copies for online use.
Shrinking an image is a small job with a big payoff. Resize it, compress it, and keep the original safe. Start with the Image Compressor on the next photo that will not upload.